
Rooms grow tired long before they fail outright. Finishes dull, layouts that once felt generous begin to cramp modern routines, and surfaces that saw years of daily use start to chip, stain, and swell. Outside, paint fades, lawns thin, and perimeter structures lean a little more each season. None of these changes happen overnight, which is why many homeowners only notice them when the overall impression of the property shifts from comfortable to worn. Reviving those spaces brings back the energy that made the house feel like home in the first place.
Yet every room depends on the structure that shelters it. Shingles and flashing keep water off ceilings and walls, framing and sill plates carry the weight of everything above, supply and waste lines move water quietly behind the scenes, and the landscape shapes how storms and pests approach the foundation. Fresh finishes installed over hidden rot, active leaks, or insect damage rarely last. The smartest renovation plans pair visible upgrades with structural reinforcement, so new rooms rest on a shell and support system strong enough to protect them for decades.
Assessing Decayed Trunks and Dismantling Overhanging Limbs

Mature specimens often hide serious weaknesses inside healthy-looking canopies. Fungal decay enters through old pruning wounds, storm breaks, and damaged roots, slowly hollowing the heartwood that gives a trunk its strength. Cavities, fungal conks at the base, oozing cracks, and dead branches high in the crown are common warning signs. Limbs stretching over the house scrape shingles, drop debris into drainage channels, and give squirrels and rodents an easy bridge onto the eaves. During wind and ice storms, a decayed trunk or heavy overhanging limb can fail without warning.
Reputable tree removal companies begin with an arborist’s assessment of decay, lean, and nearby targets, sometimes using resistance drilling to measure how much sound wood remains. Overhanging limbs are rigged and lowered with ropes and friction devices rather than dropped, protecting shingles, siding, and landscaping. When a trunk cannot be saved, crews dismantle it in controlled sections, using a crane where space is tight. Stumps are ground eight to twelve inches below grade, debris is chipped and hauled away, and the area is backfilled and prepared for new plantings.
Feeding Thin Turf and Controlling Invasive Weeds
Thin, patchy turf weakens curb appeal and leaves soil exposed to erosion. Nutrient deficiencies, compacted soil, improper mowing heights, and soil pH that drifts too far from neutral all reduce the density of the grass. Once gaps open, crabgrass, nutsedge, clover, and broadleaf weeds move in quickly, competing for water and light. Bare areas wash away during heavy rains, sending sediment onto walkways and against the foundation, and weakened turf becomes more vulnerable to drought, insects, and disease.
A dependable lawn care company begins with a soil test to measure pH and nutrient levels, then applies lime or sulfur to correct imbalances and slow-release fertilizer tailored to the grass type and season. Core aeration relieves compaction, and thin areas are overseeded with varieties suited to local sun and traffic conditions. Pre-emergent herbicides are timed to stop crabgrass before germination, while targeted post-emergent treatments address established broadleaf weeds. Proper mowing height and deep, infrequent watering complete a program that builds dense, resilient turf.
Setting Frost-Proof Posts and Hanging Sturdy Privacy Panels
Perimeter enclosures face constant stress from wind, frost, and moisture. Posts set too shallow are pushed upward as water in the soil freezes and expands each winter, while posts buried in plain dirt or trapped in concrete collars rot at grade. Solid privacy panels catch wind like sails, magnifying every weakness in the posts and fasteners. As the structure leans, rails twist, boards separate, and gates sag until they drag across the ground and no longer latch securely.
Professional fence installation begins with locating underground utilities and marking the layout with string lines, then digging post holes below the local frost line and at least one-third of the post length. Gravel at the base improves drainage, and each post is set in concrete crowned to shed water, then plumbed and braced while it cures. Sturdy privacy panels of cedar, composite, vinyl, or powder-coated aluminum are attached with stainless steel or hot-dip galvanized fasteners, and gates are hung with heavy-duty hinges and adjustable anti-sag hardware.
Opening Cramped Layouts and Upgrading Ducted Ventilation
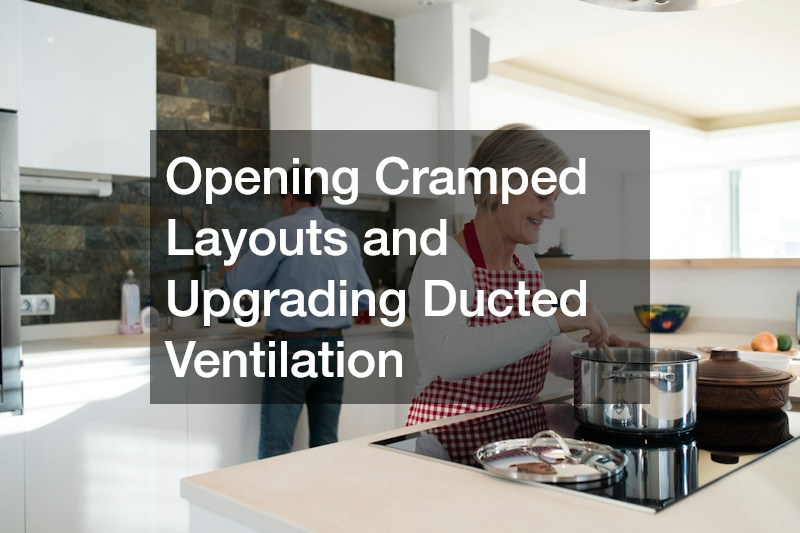
Cooking spaces built decades ago often feel cramped and isolated. Narrow aisles create bottlenecks when more than one person is working, closed walls cut the room off from adjacent living areas, and storage is buried in deep corner cabinets. Ventilation is frequently an afterthought, with recirculating microwave hoods or undersized fans that do little to remove grease, moisture, odors, and combustion byproducts from gas cooktops. Those pollutants coat cabinets and walls and linger in the air throughout the house.
An experienced kitchen contractor begins by evaluating how the household cooks and gathers, then reorganizes prep, cooking, cleanup, and storage zones with aisles of 42 to 48 inches. Non-bearing walls may be removed to open sightlines, while bearing walls are replaced with properly sized engineered beams supported by posts that carry loads to the foundation. Ventilation is upgraded with a ducted range hood sized to the cooktop’s output, vented outdoors through smooth rigid metal duct with a backdraft damper, and paired with makeup air where code requires.
Templating Stone Slabs and Sealing Porous Work Surfaces
Work surfaces in busy cooking and wet areas absorb constant punishment. Laminate swells at seams and around sinks, tile grout stains and cracks, and natural stone that has not been sealed absorbs oils, wine, and coffee that leave permanent marks. Acidic foods etch marble’s calcium carbonate, dulling its polish. Poorly supported overhangs crack under weight, and water seeping around undermount sinks swells cabinet tops and loosens the installation.
Durable countertops begin with digital laser templating that captures every wall irregularity and cabinet dimension. Fabricators cut granite, quartzite, or engineered quartz on CNC equipment, positioning seams over solid cabinet support and bonding them with color-matched epoxy. Overhangs beyond about ten inches receive concealed steel brackets, and undermount sinks are anchored with clips and structural adhesive. Natural stone is treated with an impregnating sealer that should be renewed whenever water stops beading, while engineered quartz offers a nonporous surface that never needs sealing.
Waterproofing Tiled Showers and Replacing Rotted Subfloors
Showers that look solid on the surface can hide significant damage behind the tile. Grout and tile are not waterproof on their own, and older showers built over drywall or unsealed backer board absorb water through every hairline crack. Failed shower pans let water pool and seep into the subfloor, softening plywood and rotting joists. Loose tiles, soft spots near the curb, musty odors, and stains on the ceiling below are signs that moisture has been spreading for some time.
Comprehensive bathroom remodeling begins with removing tile and substrate down to the studs and subfloor, cutting out rotted material back to sound wood, and sistering or replacing weakened joists. New plywood is glued and screwed to the framing, and the shower is rebuilt with a properly sloped pan and a continuous waterproofing membrane that ties into the drain and seals every seam and niche. A flood test confirms the system holds water before tile is set, and a ducted exhaust fan with humidity controls keeps the room dry.
Patching Leaky Valleys and Resealing Lifted Shingles

Valleys carry concentrated runoff from two slopes, making them one of the most common leak points on any home. Metal valley flashing corrodes, woven shingles crack where they bend, and leaves and needles collect in the channel, holding moisture against the surface. Elsewhere on the slope, wind breaks the adhesive strips that hold shingle tabs down, allowing them to lift and flap with every storm. Water slips beneath lifted tabs and through failed valleys, soaking decking, insulation, and ceilings.
Timely roof repairs begin with tracing leaks from the attic and confirming damage from above. Damaged valley sections are removed, ice-and-water membrane is installed along the full length of the channel, and new W-style metal flashing or properly woven shingles are laid to carry water efficiently. Lifted tabs are resealed with asphalt roofing cement, backed-out nails are replaced with ring-shank fasteners, and missing pieces are swapped for matching shingles. Debris is cleared from valleys, and exposed nail heads are sealed to stop slow leaks.
Scraping Failed Coatings and Priming Bare Exterior Trim
Exterior finishes act as the first barrier between weather and wood. Over time, ultraviolet light breaks down binders, causing paint to chalk, crack, and peel. Once the coating fails, rain soaks into bare trim, fascia, and siding, causing swelling, checking, and rot. Failing caulk joints around windows, doors, and corner boards let water slip behind the cladding, and peeling surfaces make an otherwise well-kept home look neglected.
A skilled painting contractor begins with thorough preparation, power washing surfaces to remove dirt and chalk, then scraping and sanding loose coatings down to sound material. Rotted trim boards are replaced, cracks and nail holes are filled, and joints are sealed with flexible, paintable elastomeric caulk. Bare wood receives a stain-blocking, exterior-grade primer that improves adhesion and seals out moisture, followed by two coats of premium acrylic paint applied at the manufacturer’s recommended film thickness during dry, moderate weather so each coat cures properly.
Probing Sill Plates and Tracing Hidden Mud Tubes
Subterranean colonies attack a home from the ground up, and their damage often stays hidden for years. Workers travel from moist soil through cracks in foundations, gaps around plumbing, and wood touching the ground, building pencil-width mud tubes to protect themselves from light and dry air. Once inside, they feed on sill plates, rim joists, and floor framing from the inside out, leaving a thin outer shell that hides extensive structural damage until floors soften or swarmers appear.
Trained termite inspection specialists examine the foundation, crawlspace, basement, attic, and exterior perimeter, probing sill plates, joists, and trim for soft or hollow wood. They trace mud tubes along foundation walls, piers, and plumbing penetrations, and use moisture meters and sometimes thermal imaging to locate active areas behind finished surfaces. Conditions that attract insects, such as wood-to-soil contact, leaking plumbing, and damp crawlspaces, are documented, and a written report outlines active infestations, past damage, and recommended treatment.
Rerouting Corroded Supply Lines and Clearing Sluggish Drains
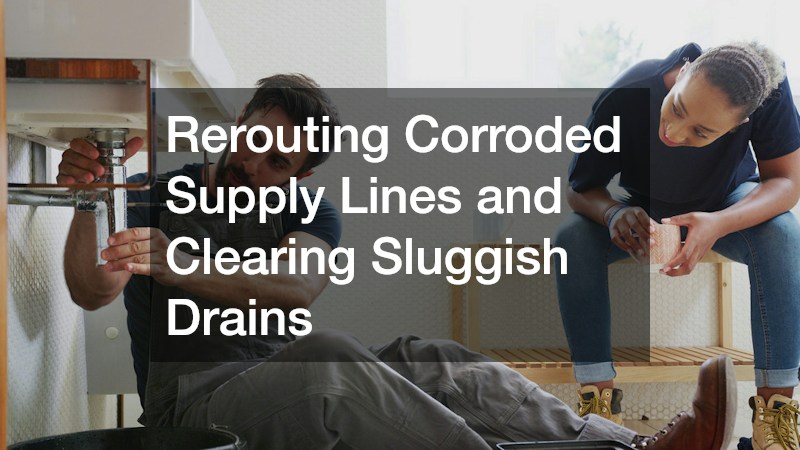
Water systems age out of sight. Galvanized supply piping corrodes from the inside, narrowing the bore until pressure drops and rust tints the water, while older copper develops pinhole leaks that soak framing and subfloors. On the waste side, grease, soap scum, hair, and mineral scale accumulate inside drain lines, and roots can invade the main through cracked joints. Slow sinks, gurgling toilets, sewer odors, and backups at floor openings are early warnings of trouble.
Reliable plumbing services begin with leak detection using acoustic equipment, thermal imaging, and pressure tests, then reroute failing supply lines through walls or attics with PEX-A tubing and cold-expansion fittings or Type L copper. Shutoff valves are upgraded to quarter-turn ball valves, and a pressure-reducing valve protects the new lines. Sluggish drains are cleared with cable machines and hydro-jetting that scours grease and roots from pipe walls, and a camera inspection confirms each line is clean and structurally sound.
Reviving tired rooms delivers an immediate lift to daily life, but lasting results depend on the structure behind the finishes. Managed canopies, healthy turf, and sturdy perimeter structures protect the grounds. Sound shingles, fresh exterior coatings, protected framing, and reliable supply and drain lines keep water and insects from undermining the home. Within that protected shell, upgraded cooking spaces, durable work surfaces, and watertight wet rooms can be enjoyed for many years.
The most effective approach plans renovation and reinforcement together. Before investing in new finishes, it pays to inspect for hidden moisture, insect activity, and failing pipes, then correct those problems first. After the work is complete, a steady maintenance routine keeps everything performing as intended: seasonal turf care, periodic exterior painting, annual inspections for insects, routine checks of shingles and valleys, and prompt attention to slow drains or unexplained increases in water use.
The reward is a home that feels new where it matters and stays strong everywhere else. Rooms are brighter and more functional, outdoor spaces are healthier and more attractive, and the structure holds its value for decades. By reviving tired rooms and reinforcing the structure that shelters them, homeowners create a property that serves them well for generations.